Feature Posts

RFI Shielding RTL-SDR with Blue Anodized Aluminum Enclosure


I currently own two NooElec RTL2832 + R820T2 SDR's that I use for spectrum scanning, and to trunk scan my local public safety radio calls that are always broadcasting (police, ambulance, fire, transit calls). I'll post more about that in a separate topic though.


http://www.nooelec.com/store/sdr/nesdr-mini2-rtl2832u-r820t2.html

The RTL-SDR stands for Realtek-Software Defined Radio because it is based on the Realtek RTL2832U chipset. These are very cheap $20 devices that can be used as a computer based radio scanner. More can be read about them here: http://www.rtl-sdr.com/about-rtl-sdr/

These devices are however vulnerable to RF noises/interference, which can affect the noise floor and receiving capability of remote signals. The screenshot shown above was my SDR receiving signals in VHF, around the 130-140 MHz band. The noise floor was seen to be around -40dB.

A user named will1384 on reddit has put together a gallery of test results that he obtained after trying different methods of RFI shielding: 

Image gallery + his findings:

One of his methods was using a blue anodized aluminum enclosure like this one off eBay:

...so I bought two of these enclosures to see if it would have any effect. However, as he shows in his imgur gallery, I decided not to ground the USB PCB connection to the case like he did.

eBay aluminum enclosure and RTL-SDR casing taken off

Measured out where to drill a hole for the MCX connection on the SDR to fit

SDR was slid and snapped into place afterwards


One of the side plates needed to have a cutout for the USB to stick out


Final assembly

Times two

Hooked up to PC along with an antenna for each SDR


NooElec SDR in OEM plastic casing. Noise floor: around -40dB

NooElec SDR in blue aluminum enclosure. Noise floor: around -42.5dB


Although not too obvious, the noise floor did seem to drop by a few decibels. To improve my reception in the future, I plan to purchase a set of LNA's (low-noise amplifiers) to help pick up farther away radio signals.
Learn more »

iPhone 5s Rear Case Housing Swap (iPhone 6 Mini Mod)


I've been using an iPhone 5s for the past couple of years, and the internet has led me to a particular mod for it...so I bought this kit from eBay (black with black buttons) to try out. It has a nickname called the "iPhone 6 Mini" mod.

http://www.ebay.ca/itm/Rear-housing-for-iPhone-5-5s-back-battery-door-replacement-mod-to-iPhone-6-mini-/381178400878?var=&hash=item58c000d06e:m:m-uxI4Iq6HW4TEagox-PMWw

OEM iPhone 5s Rear Housing
eBay Rear Housing Kit for iPhone 5s
Installation:

Bottom: iPhone 5s with front screen removed, Top: Black iPhone 6 Mini empty housing
One hour later..internal components of iPhone 5s removed from the original housing (top)
Another hour later..internal components have been placed in the new black housing
Left: Finished iPhone 6 Mini, Right: iPhone 4s for size comparison
Left: iPhone 6 Mini, Right: iPhone 4s
More photos to show the curvature on the edges


Review: The quality of the case is decent, but the plastic/glass cover for the rear camera produced less sharp images when taking test photos. I believe that it may depend on the seller you buy from on eBay. Not all the mod kits are exactly the same, as I have seen ones that have a rear camera bezel that sticks out, similar to the new iPhone 6/6s feature. It also feels like the phone is lighter, perhaps by a few grams. The buttons work flawlessly, so I have no reason to switch back to the original 5s rear housing anytime soon. I'll be keeping it like this unless the case cracks some how..
Learn more »

9dBi Antenna Modification on Linksys EA4500 Wireless Router


I have a Linksys EA4500 dual-band wireless N router that has 450 Mbps up and down speed in the 2.4GHz and 5GHz bands. I purchased it it back in 2012.


the newer AC routers coming out in 2016 as a replacement, I figured I would try a mod on this EA4500 model. On eBay there are these extremely long antennas that claim to have 9dBi of gain. They also come in smaller lengths and gain such as 7dBi, 6dBi, 3dBi.

eBay link: http://www.ebay.ca/itm/3-9dBi-RP-SMA-2-4-5-8GHz-WiFi-Antennas-3-U-fl-Cables-for-Mod-Kit-Asus-Router-/272060923777?

Here is the process that I went through:


The screws to disassemble the case are underneath these peg stands.

Disconnected all six of the 2.4/5GHz pigtail connectors.
The original antennas were removed and I drilled holes in these positions with a step drill.
SMA male connectors secured outside of the case with glue.
Antennas installed.
Final product.

My final verdict is that this modification did not benefit in any way. I was expecting possibly a small increase in RSSI % as some others have indicated with swapping to these chinese antennas. However I had the opposite result, and my RSSI dropped from 2-10% on both the 2.4 and 5GHz bands.
Learn more »

OBD-II Arduino Car Information Display

Introduction:

Back in September of 2013, I was interested in creating a project to look at solutions for interfacing with personal vehicles, so that real time performance data can be collected and somehow displayed to the driver. Originally, products like the OBDLink (by ScanTool), Mojio, and others were a source of inspiration because they were launching into the consumer market with some neat features. But I asked myself, what is available out there for all the creator community? Well I did not find much, other than shields and modules for Arduinos, all of which I didn't want to spend more money on. But what I had at home already was a USB ELM327 OBD-II Scan Tool, and I quickly realized that this was an easy thing to 'hack' into.

This part 1 of the article, we look at finding the right ELM327 OBD-II adapter to buy, and how to tap into the TX/RX lines to feed to an Arduino. In part 2, I cover the programming of the Arduino to display the information. It is a straight forward, cheap, and easy 'hack' to complete. Soldering, heat shrink tubing, wire, and connectors will/may be required.

Buying an adapter:

The way to access information from the vehicle is through the OBD-II port, which is short for on-board diagnostics. It is normally used by mechanics who have an expensive code reader, so they can read error codes and sensor data when completing maintenance on vehicles. However, more information can be read live while the engine is on, such as speed, engine RPM, throttle, and temperatures.

To obtain data from your car's OBD-II port, we'll be using a cheap ELM327 OBD-II Scan Tool. Why? Well they are very cheap and go for around $10-15 on sites like dealextreme, eBay, and Amazon. In addition, the ELM327 will actually be doing most of the work for us, and acts as the middle man in obtaining data from the ECU, and converting it to something a little nicer. We can then talk to the ELM327 through the AT command set (commonly used by modems) via serial connection. Essentially you ask for information from the ELM327 with a simple command, and then it will retrieve and send the information back to you.

A problem about these cheap ELM327 scan tools is that there are many variations available for sale, and they may not be made of the same quality (in terms of casings, PCB, and parts). So some of them may not actually be able to handle the stress and amount of heat that we will require it to go through. For example, there is a thread I found by ScanTool that tears down a sketchy adapter bought from China. 

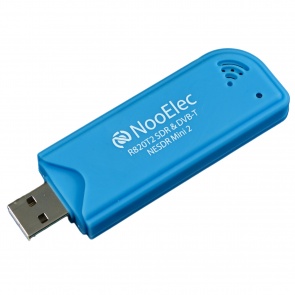
Therefore, I highly recommend that you try and purchase the one I used since it has gone through a lot of use with no problems. It is called the "V1.5 OBD2 ELM327 USB CAN-BUS SCANNER" from dealextreme for $11.87 (free shipping):

http://dx.com/p/v1-5-obd2-elm327-usb-can-bus-scanner-126938#.UwBI4PldWWY

SKU 12693

The particular one that I received was a bit fidgety to get the connector snugly fit in my Honda connector. But the problem fixed itself eventually after plugging it in and out a few more times. The benefits? It's USB and has the cable which will be perfect for tapping in and out of. The PCB is of good quality and may look something like this:


Usually comes in green or black

And most importantly, it has convenient serial outputs which we will be able to tap into; but I'll explain that shortly. Bluetooth only models that have no cable should work as well, but there is no guaranteed. 

*If you decide to order from dealextreme, please avoid getting SKU 242224 (this one here), because I got this one too as a second adapter, and the case was glued shut and difficult to remove. Although, dealextreme mixes up orders quite often and may send you this bad one even if you ordered the previously suggested one, SKU 126938.

*To note, these cheap adapters from China are clones, and do not actually use an "official" ELM327 chip. Instead, they are PIC18F2480's flashed with the 1.0 ELM software, which was pirated (copied) from the original chips because it was not initially copy protected. Also, don't bother paying attention to the ELM327 version numbers on these when shopping (eg. 1.2, 1.3, 1.4, 1.45, 1.5), as they should all be generally flashed with the same 1.0a firmware. 

*The "official" ELM327 chip is not so much different, and is commonly a PIC18F2580- I/SO or I/P made by Microchip.

Modifying the adapter for use with Arduino:


As mentioned already, the PIC18F2480 (fake ELM327) acts as the data processor by talking to the CAN bus and converting it as easy to access information. Like an old fax modem, it uses the AT command set to grab and provide the information via serial. The RS232/USB, and bluetooth interfaces can use serial to communicate with it.


Above is the pin schematic for the PIC18F2480, and pins 18 (RC7/RX/DT) and 17 (RC6/TX/CK) are what we need to use. However, since the cheap adapter we're using has bluetooth, or at least an empty spot for it, there is an easier to access etched path at the bluetooth pads.

A similar PCB with a bluetooth module attached (on right)
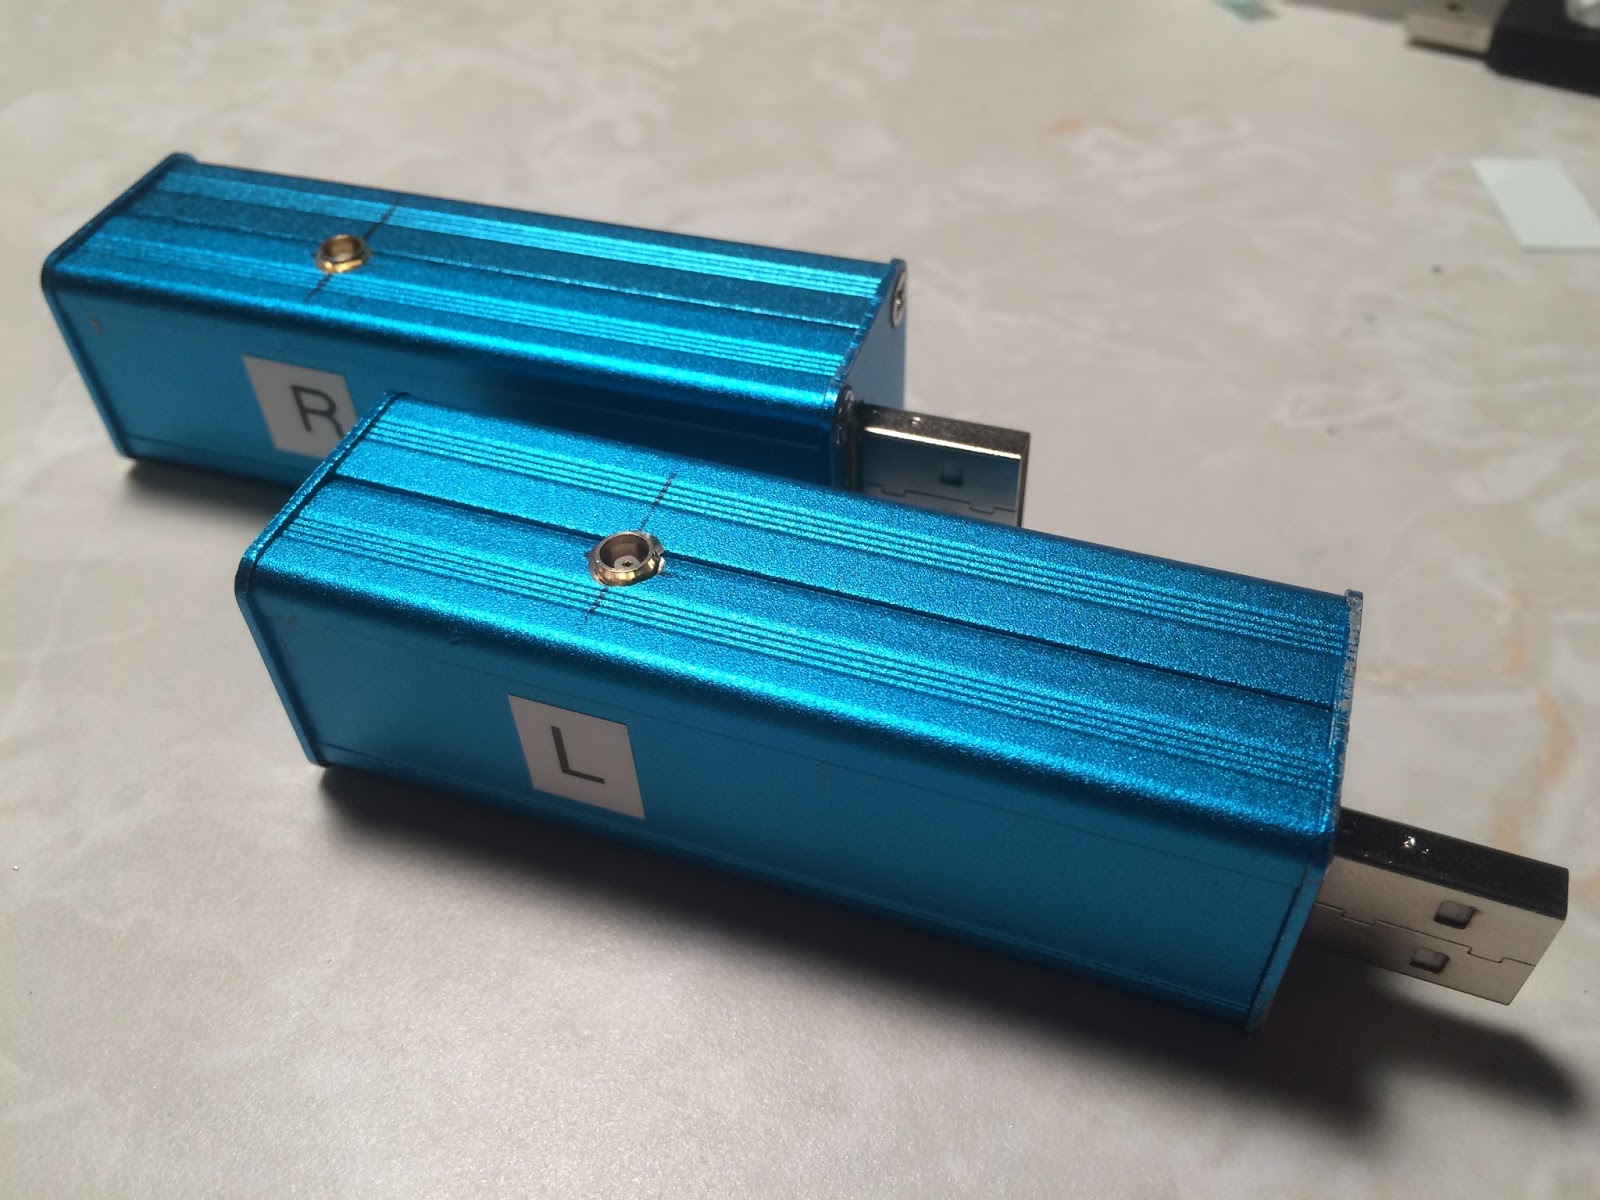
A photo of the TX/RX headers soldered down on my PCB

(Optional) Adding a power switch to the adapter:

When everything is completed and your using this for your own projects, you may find it handy to have a switch on the adapter so that you can turn it off, without having to unplug the entire adapter from the port. When left connected, the unit will stay on and draw a small amount of power, leading to a dead car battery.

So thinking ahead, you may want to consider doing this so it's more convenient for yourself.


1. Grab the male OBD-II connector we took off that had the attached wires, and locate Pin 16 (Power in from the battery)


Pin 16 has a purple wire attached (on mine)

2. Take the wire attached to pin 16, and cut it roughly in half, strip the ends, and pull heat shrink tubing over it

3. Grab a mini toggle switch and wire it as shown, then solder together 

Then heat the tubing in place to protect the connections

4. Take your soldering iron and melt a hole in the casing like this to hold the switch (or drill a hole)

Also, snap off the round peg from the top case so
that it will not interfere with the newly placed switch

Wiring the adapter:


Programming the Adapter:

Stay tuned for a separate article!


Demonstrations:


ELM327 without case

TM1638 mounted on the right side of dashboard
Initial TFT LCD startup screen
TFT LCD Info Display (WIP)
Learn more »